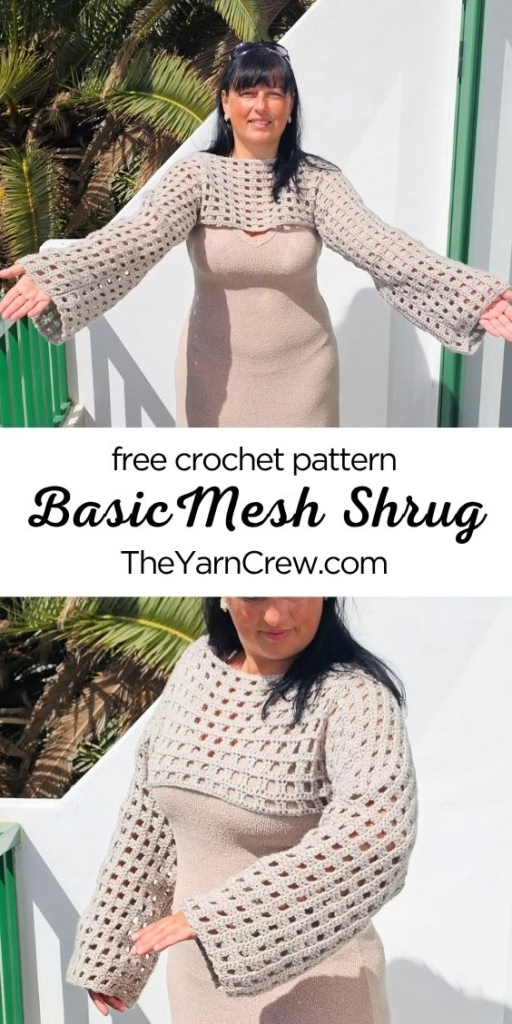
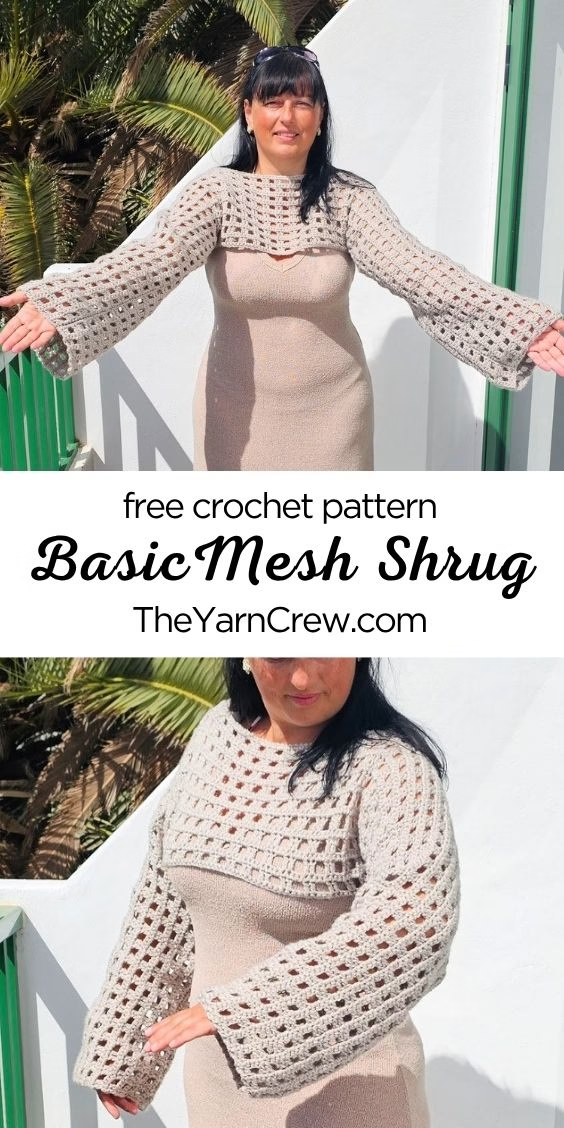
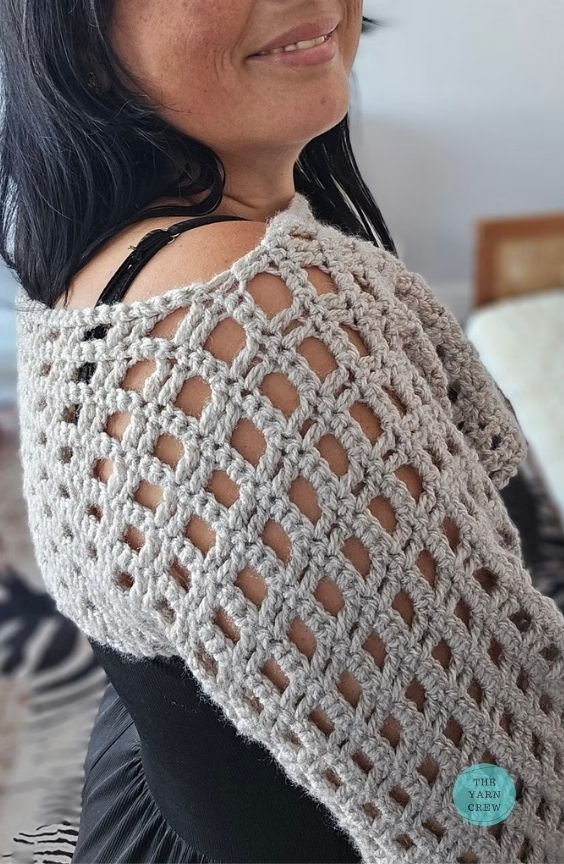
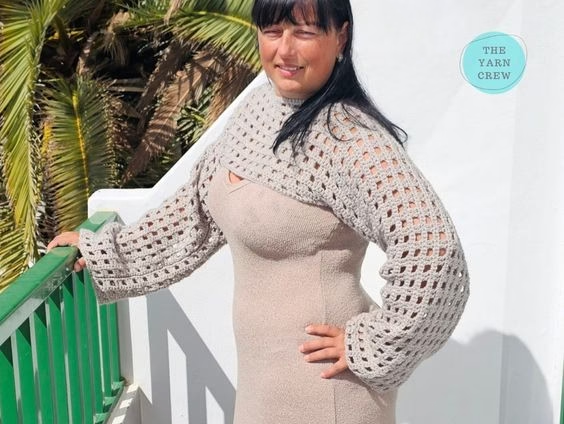
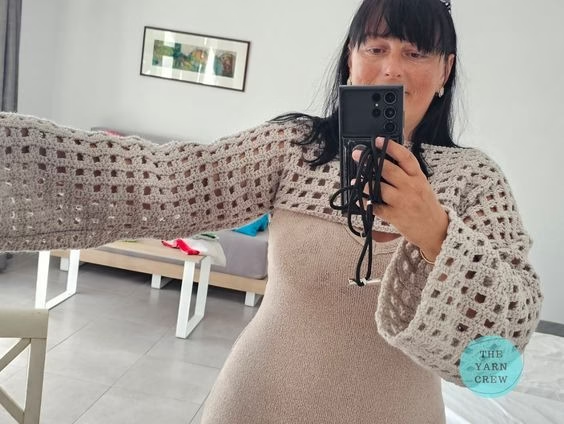
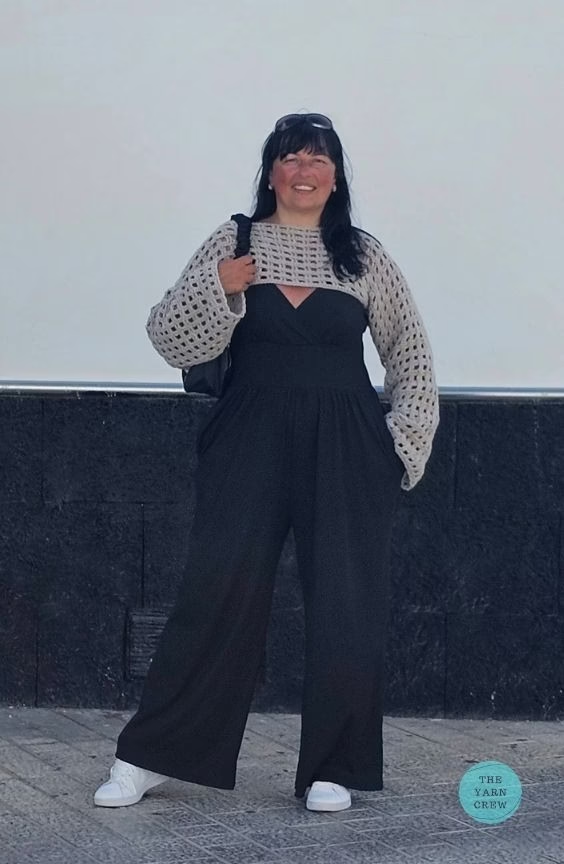
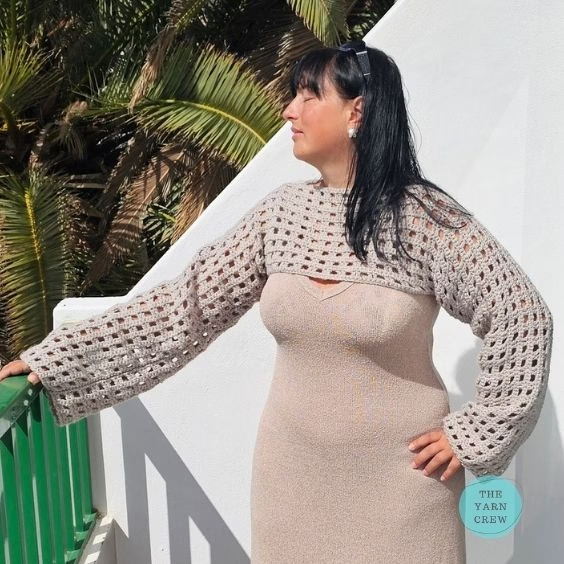
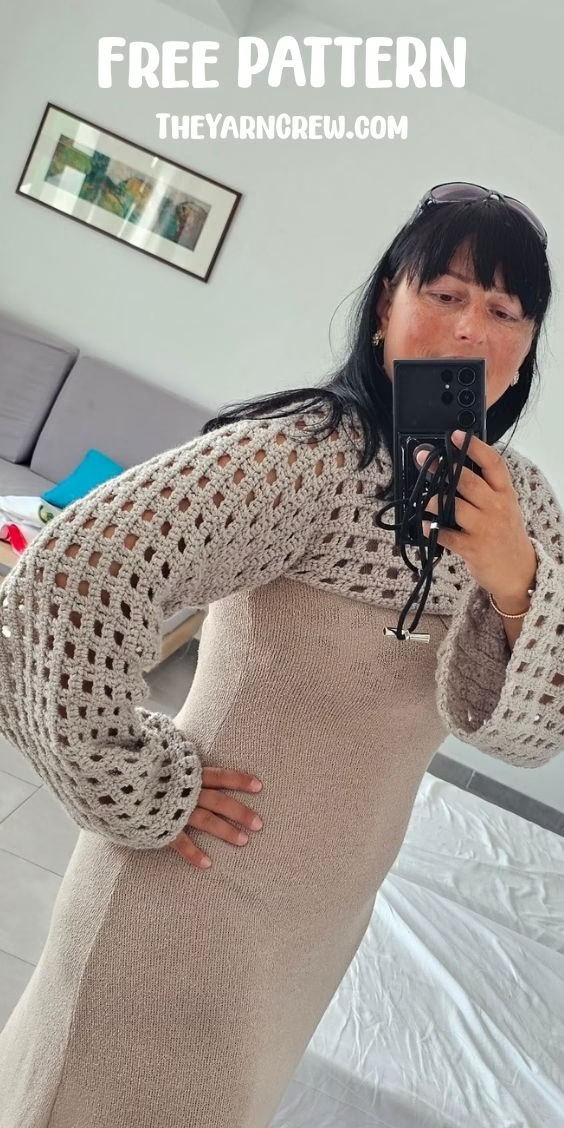
I wanted to share my new basic mesh shrug with you. This beginner mesh shrug is a simple project I made for those days when you need a light layer.
It uses a basic stitch pattern that works up fast and looks great over any outfit.
*This post may contain affiliate links to support the cost of this blog. At no cost to you, I may make a small commission if you purchase through these links. Read our Privacy Policy HERE
Project Overview
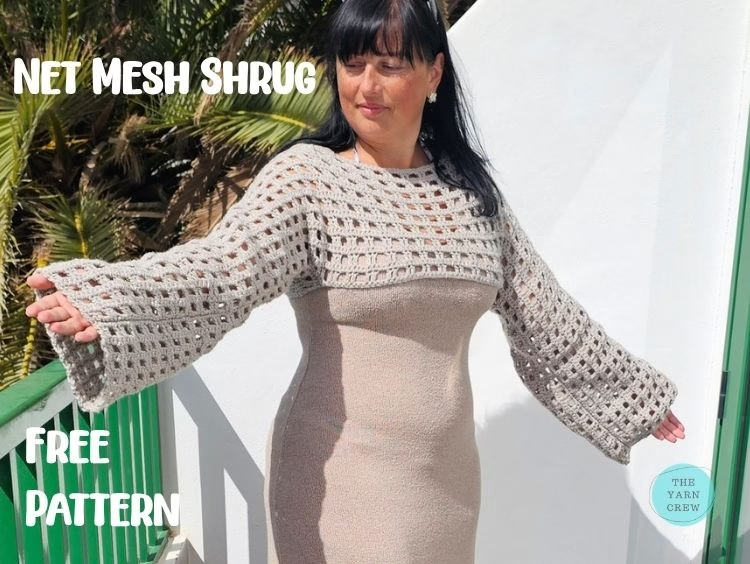
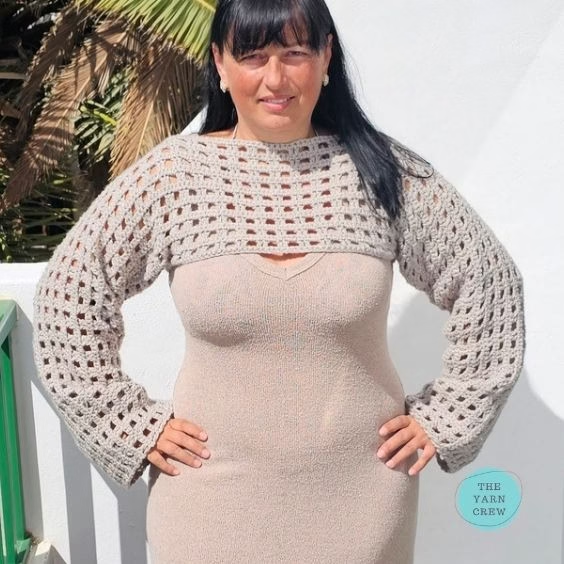
This pattern is a cropped, open-work top with long sleeves. It is a no-sew crochet shrug, which means you won’t have to spend time joining pieces together with a needle. You work it in one piece, making it very easy for anyone who wants a stress-free project.
PATTERN TYPE: [Choose what fits from the ff: amigurumi, applique, jewelry, garment, charm, etc.]
PATTERN LEVEL: BEGINNER
ABBREVIATIONS: Written in US terms using Craft Yarn Council abbreviations
SIZE: 162cm wide from sleeve end to sleeve end, 21cm sleeve width, 21cm sleeve width, Neck opening 37cm, Torso opening 49cm, Uk size 16
YARN INFORMATION: Paintbox Yarns Simply Aran (wosted, #4 yarn), Taupe, 2 skeins of 100g
YARN QUANTITY: Red – 2 | Yellow – 3
CROCHET HOOK: 5mm
MATERIALS USED: stitch markers, scissors, pins, and tapestry needle
PDF: available on Etsy
If you found this post helpful, please like and share. Follow me on Pinterest for more crochet inspiration. Follow us on Instagram, Tiktok and Facebook @TheYarnCrew.
Basic crochet shrug for windy summer nights
I was recently on holiday in Spain and the weather was a bit cooler than I expected. It was quite windy, especially in the evenings.
I had packed a lot of strappy dresses and sleeveless tops, but I needed something to cover my shoulders so I wouldn’t feel the chill.
I wanted a piece that provided a little bit of warmth but still felt like it belonged on a beach holiday. I decided to make a mesh design so the air could still move through it.
It turned out to be the perfect solution for keeping the wind off while staying comfortable in the sun.
I sat outside and worked on this while looking at the palm trees. It was so easy to make that I finished it quickly and could wear it for the rest of my trip.
It really changed how I felt about my holiday wardrobe.
Why this pattern works
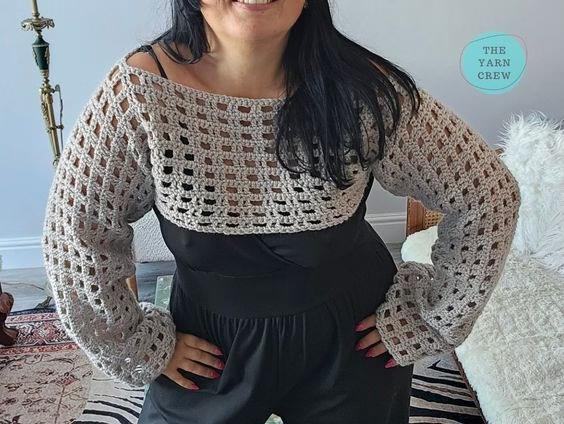
- No Sewing: You won’t need to sew any seams.
- Fast Work: The mesh stitches grow very quickly.
- Versatile: It fits over jumpsuits, dresses, or tank tops.
- Simple Shapes: Uses basic stitches that are easy to remember.
Is this for you?
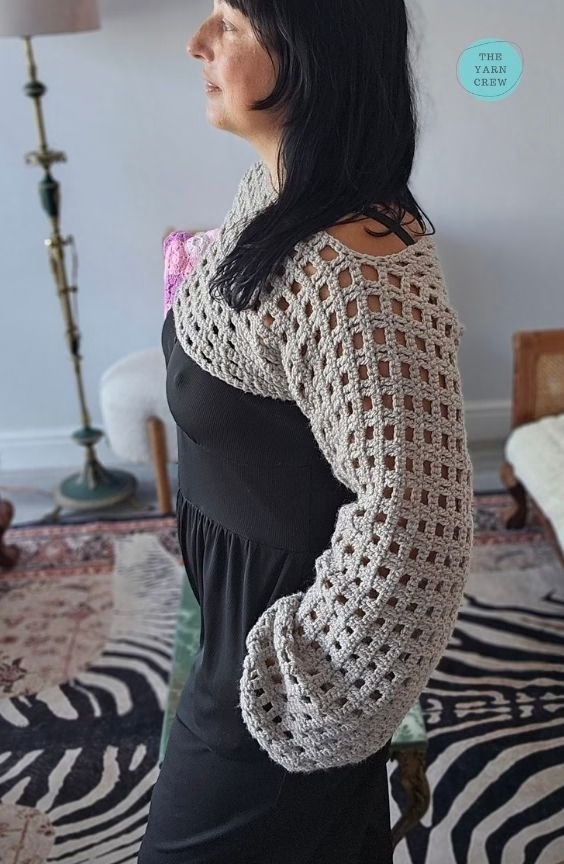
- Beginners: If you know the basic stitches, you can make this.
- Travelers: It is lightweight and easy to pack in a suitcase.
- Gift Makers: Because it has a loose fit, it is easy to make for friends.
- Minimalists: It uses a small amount of yarn compared to a full sweater.
How To Crochet The Flower Without A Magic Ring
What I used
For this shrug, I used Aran yarn (worsted, #4) and a 5mm hook in taupe color (2 skeins of 100g each).
I chose this yarn because that’s what I had available, but you can make yours in any yarn weight you want, the pattern is adjustable.
You will also need a pair of scissors and a measuring tape to check your sleeve length as you go.
Choosing your colors
I made mine in a neutral beige because it goes with everything. You can use any solid color or even a variegated yarn if you want a different look.
Since the stitches are open, a lighter color helps the mesh pattern stand out.
Abbreviations
Written in US terms using Craft Yarn Council abbreviations.
- ch(s) – chain(s)
- sk – skip
- sc – single crochet
- dc – double crochet
Gauge for the Basic Mesh Shrug
To get the same size shrug as me, you will need to match my gauge.
Make a swatch using the sturdy mesh stitch and calculate how many stitches and rows are in a 10cm by 10cm area.
Adjust the gauge by changing your hook or making looser/tighter stitches.
Thus is my gauge: 12 stitches by 10 rows in a 10cm x 10cm swatch made with the sturdy mesh stitch.
Row 1: ch231, sc in 2nd ch from hook, sc in each st until the end of the row, turn = 230
Row 2: ch3 (counts as 1dc), dc in next, *sk2, ch2, dc in next 2sts*, repeat from * until the end of the row, ch1, turn
Row 3: sc in each st until the end of the row, turn
Repeat rows 2&3, 8 more times.
This will be the depth of your sleeve. Next, we’re going to create the neck opening.
Row 20: ch3, (counts as 1dc), dc in next, *sk2, ch2, dc in next 2sts* x 22, ch46, sk46 (including chains), dc in next 2sts, *ch2, sk2, dc in next 2sts* x 22, ch1, turn
Next we will crochet the back of the shrug.
Row 21: sc in each st until the end of the row, turn
Row 22: ch3 (counts as 1dc), dc in next, *sk2, ch2, dc in next 2sts*, repeat from * until the end of the row, ch1, turn
Row 23: sc in each st until the end of the row, turn
Repeat rows 22 & 23, 9 more times. Don’t cut the yarn, we will use it to form the arms.
Get the PDF
If you prefer to work from a printed copy, the full pattern is available in my shops. It has all the size details and clear instructions. If you are a member of my Patreon, you can grab this pattern at a discount.
COZY CRAFTER / PATREON
Join our Cozy Crafter tier on Patreon to save 50% and support my craft. Come join the family!
* TAX is added to the price based on your country of residence.
If you found this post helpful, please like and share. Follow me on Pinterest for more crochet inspiration. Follow us on Instagram, Tiktok and Facebook @TheYarnCrew.
Final Thoughts
Thank you for stopping by to check out my latest design. I hope you enjoy making your own version of this shrug as much as I did.
Happy Crocheting!
Looking for similar patterns to crochet?
- Free Beginner Mesh Shrug Crochet Pattern (Stress Free – No Sew)
- 2-Hour Y2K Bucket Hat for Beginners (Free Pattern)
Copyright
© 2026 The Yarn Crew. All rights reserved.
The photographs in this pattern are subject to copyright and are the property of The Yarn Crew. Don’t use them to advertise your own creations. You may use photos from this post only if you directly link back to this pattern.
