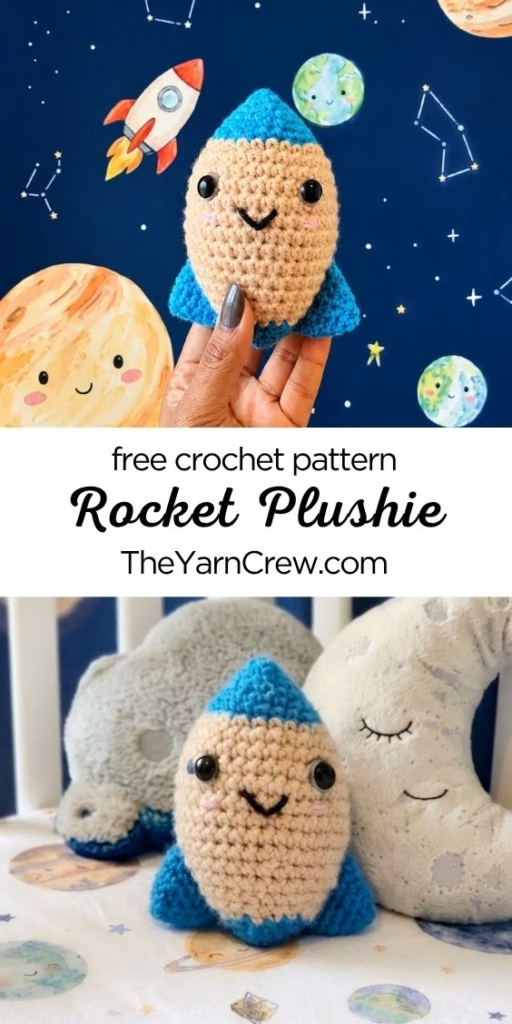
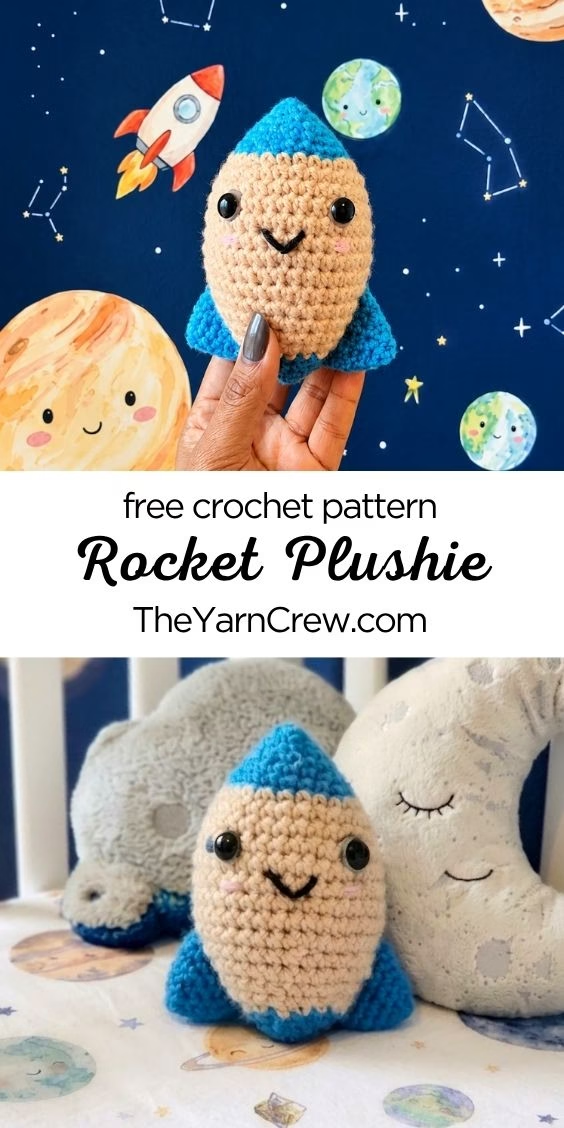
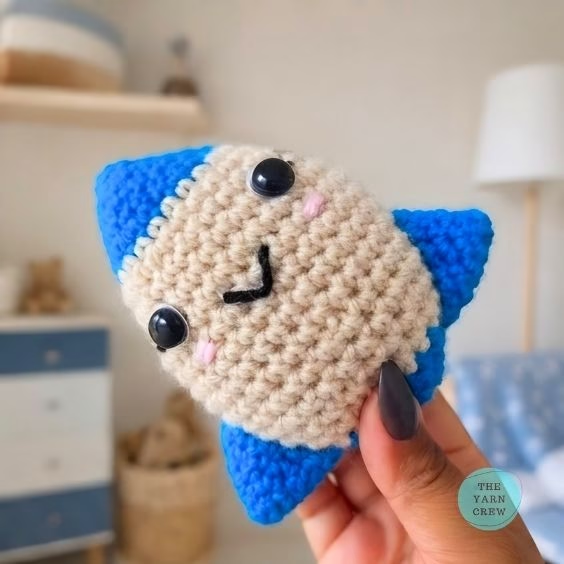
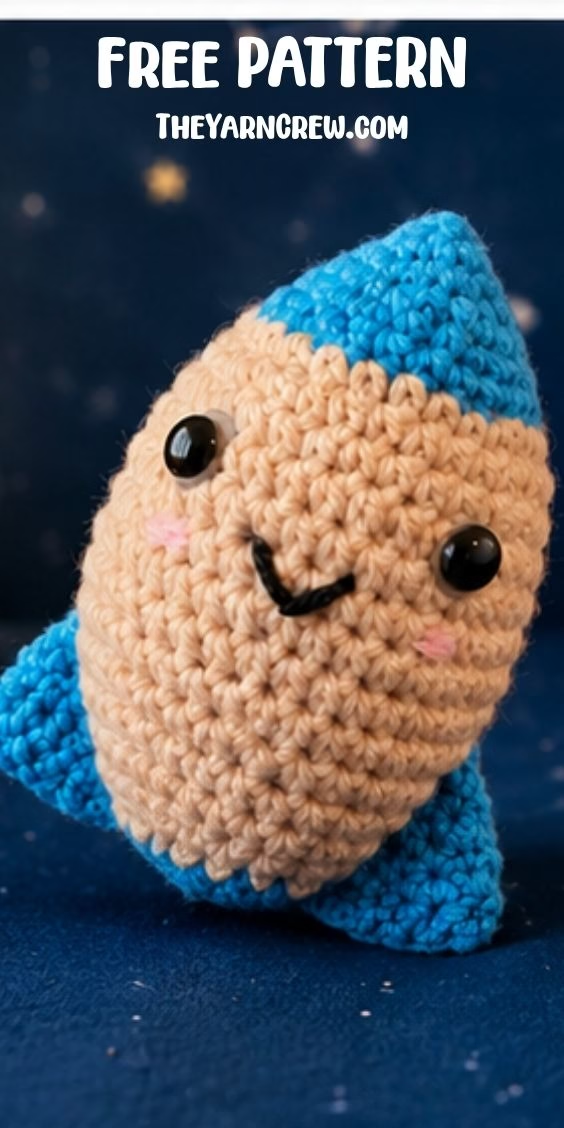
This free crochet rocket plushie pattern is a fast and simple project designed to stand about 12cm tall.
*This post may contain affiliate links to support the cost of this blog. At no cost to you, I may make a small commission if you purchase through these links. Read our Privacy Policy HERE
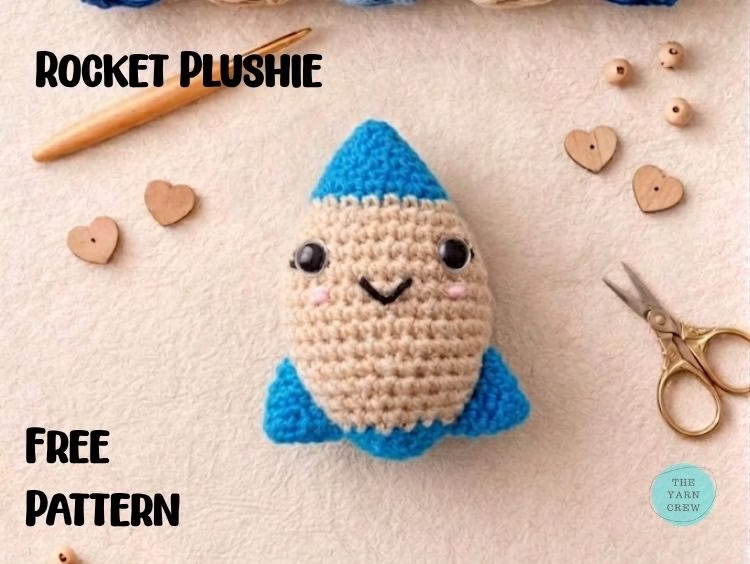
I created this beginner amigurumi spaceship toy because I wanted a small, high-character project that works perfectly as a quick gift or a unique addition to nursery decor.
Project Overview
The rocket is made in two main parts: a color-blocked body and two side fins. It is worked in the round using US terms, making it an accessible project for those familiar with basic stitches like single crochet, increases, and decreases. With its compact size and straightforward construction, it is an ideal weekend make for any skill level.
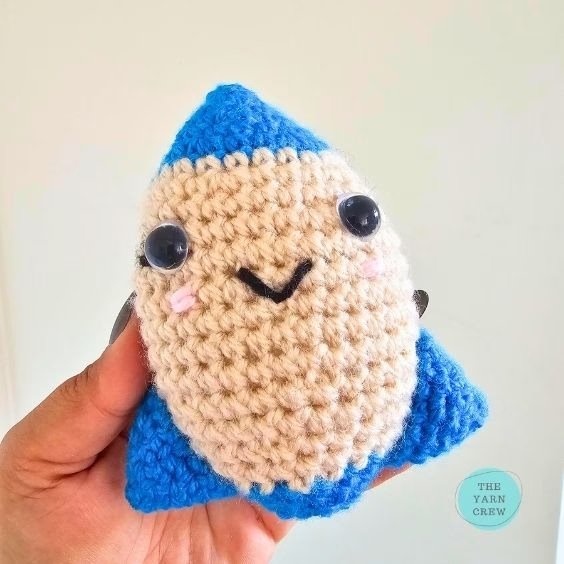
PATTERN TYPE: amigurumi, plushie
PATTERN LEVEL: Beginner
ABBREVIATIONS: Written in US terms using Craft Yarn Council abbreviations
SIZE: 12cm tall
YARN INFORMATION: Paintbody Yarns Simply Aran
YARN QUANTITY: blue | beige | pink
CROCHET HOOK: 4.5mm
MATERIALS USED: toy stuffing, safety doll eyes, stitch markers, scissors, pins, and tapestry needle
PDF: available on Etsy
If you found this post helpful, please like and share. Follow me on Pinterest for more crochet inspiration. Follow us on Instagram, Tiktok and Facebook @TheYarnCrew.
- Project Overview
- How this little space traveler came to life
- Why you will enjoy making this
- Who should make this rocket?
- Everything i used for this project
- Picking your colors and yarn
- Abbreviations
- How to crochet this cute amigurumi rocket
- Get the ad-free PDF
- Final Thoughts
- Looking for similar patterns to crochet?
- Copyright
How this little space traveler came to life
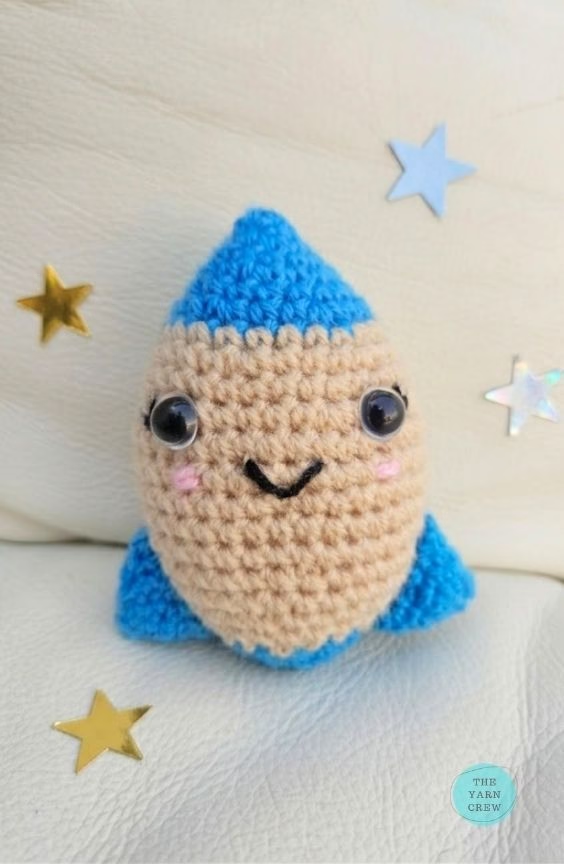
I wanted to design something that fit perfectly within the popular space-themed nursery trend.
Many parents look for handmade items that match their room decor, and a small rocket felt like the perfect fit for a bookshelf or a crib-side display.
The goal was to keep the assembly as simple as possible while maintaining a professional finish.
By using safety eyes and simple embroidery for the face, the rocket gains a friendly personality without needing complex techniques.
It resulted in a beginner amigurumi spaceship toy that is as fun to make as it is to display.
Why you will enjoy making this
- beginner friendly: the pattern uses basic stitches like single crochet, increases, and decreases.
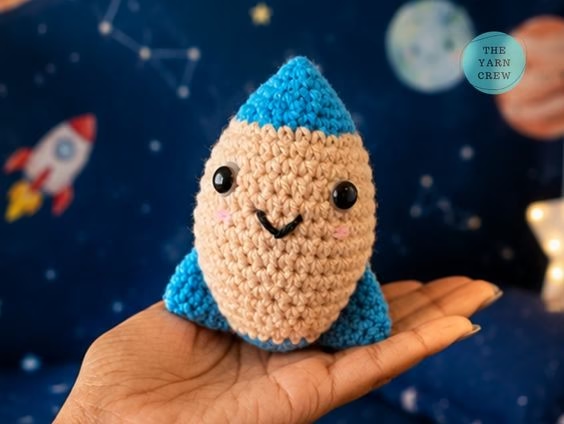
- perfect size: at 12cm tall, it is a great size for small hands to hold.
- clear instructions: the pattern is written in standard US terms with repeat markers for easy reading.
- minimal assembly: you only need to sew on two fins and embroider a simple face.
- video support: a dedicated playlist is available to guide you through the trickier parts of the assembly.
Who should make this rocket?
- amigurumi beginners: if you are new to making toys, the simple rounds and clear color changes are perfect practice.
- handmade sellers: you are welcome to sell finished items made from this pattern on a small scale.
- nursery decorators: this design is perfect for anyone creating a galaxy or space-themed room.
- last-minute gift givers: because of its small size, you can finish this project very quickly.
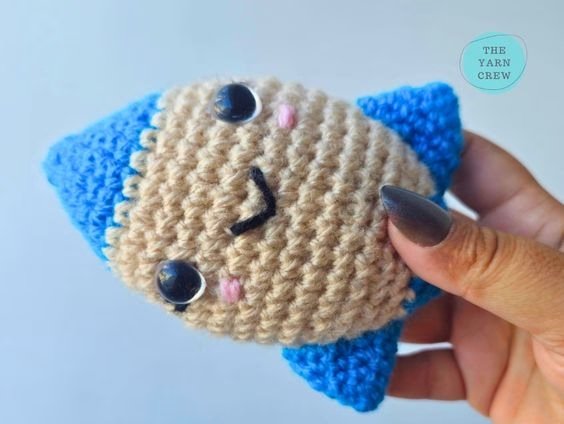
How To Crochet The Flower Without A Magic Ring
Everything i used for this project
To make this rocket, i used a 4.5mm hook and Paintbox Yarns Simply Aran in blue and beige.
You will also need 14mm safety doll eyes, a darning needle, and toy stuffing to bring the character to life.
Picking your colors and yarn
The pattern uses Paintbox Yarns Simply Aran in small quantities of blue and beige, with a small amount of pink for the embroidered blush.
Since this is a small amigurumi project, you can easily swap these for any colors in your stash to create a custom look.
Keeping your stitches tight is more important than matching a specific gauge swatch to ensure the toy stuffing stays hidden.
BEST FOR: Space-themed nurseries, children’s toys, and clearing out yarn scraps.
Abbreviations
Written in US terms using Craft Yarn Council abbreviations.
- mr: magic ring
- inc: increase
- dec: decrease
- sc – single crochet
- sl st – slip stitch
How to crochet this cute amigurumi rocket
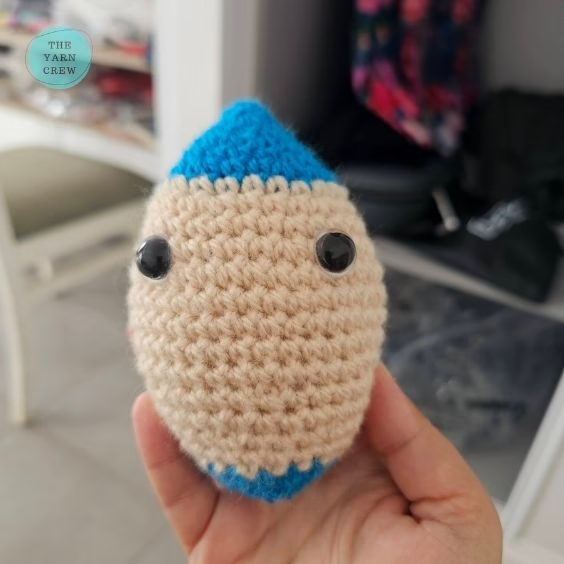
The body
with blue yarn and a 4.5mm hook
- R1: mr, 6sc=6
- R2: sc in each st=6
- R3: inc x 6=12
- R4: sc in each st=12
- R5: *sc, inc*x6=18
- R6: sc in each st=18
- R7: *inc,2sc*x6=24
change to beige yarn
- R8: sc in each st=24
- R9: *3sc,inc*x6=30
- R10: sc in each st=30
- R11: *inc, 4sc*x6=36
- R12 -16 (5): sc in each st=36
- R17: *dec,4sc*x6=30
- R18: sc in each st=30
- R19:*3sc,dec*x6=24
- R20: sc in each st=24
Insert the eyes between rounds 11 and 12, 9sts apart. Start filling the body up with toy stuffing. Continue to stuff as you work up the rounds.
change back to blue yarn
- R21:*dec,2sc*x6=18
- R22: sc in each st=18
- R23:*sc, dec*x6=12
- R24: sc in each st=12
- Photo
Fasten off, leave a long tail. Finish stuffing the rocket. Use the tail to close the hole and weave in the ends.
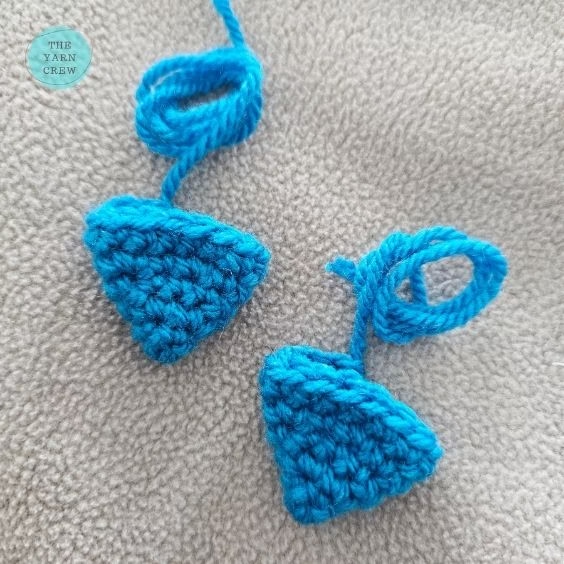
Rocket fins
make 2 with blue yarn and 4.5mm hook
- R1: mr, 5sc=5
- R2: sc in each st=5
- R3: inc x 5=10
- R4: sc in each st=10
- R5: *sc, inc*x5=15
- R6: sc in each st=15
Sl st in next st and fasten off. Leave a long tail
Assembling the rocket
Pin the fins to the side of the body, equally space to frame the eyes.
Use the yarn tails to sew them to the body. The fins are not stuffed.
Insert the needle under the stitches in the body, then around the stitches on the fin. Back and forth
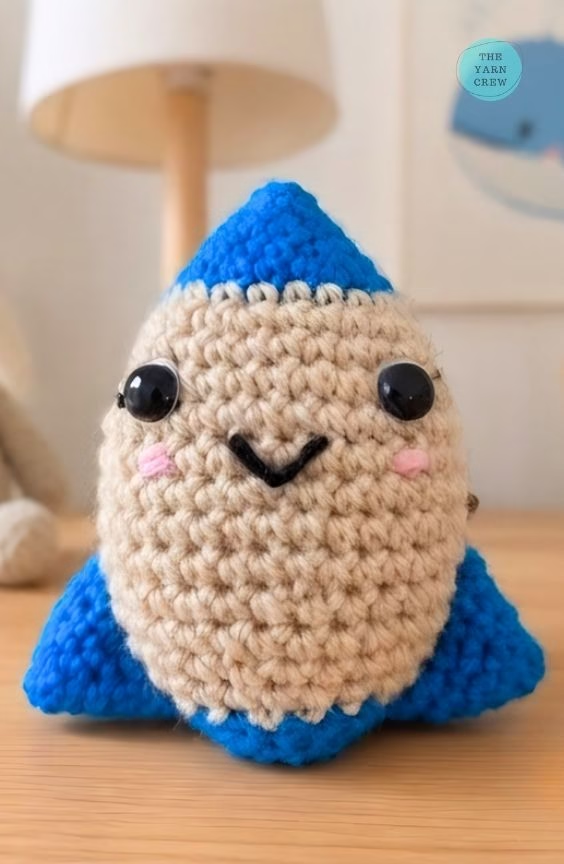
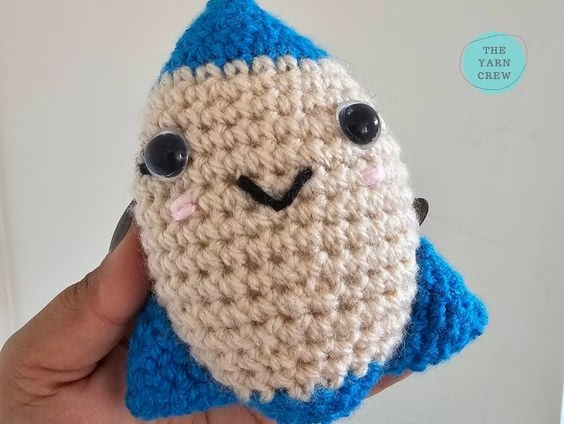
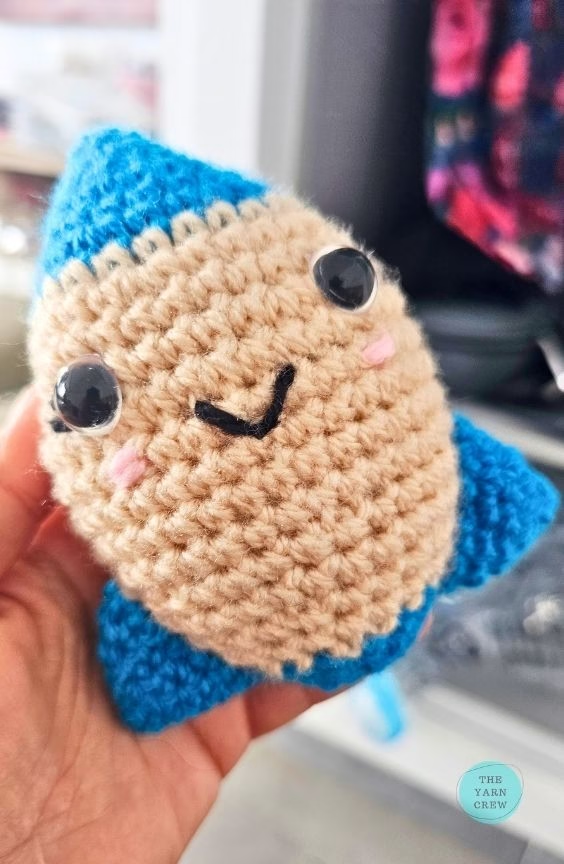
Sew around the fin. Your rocket should look like this once both fins are attached.
Embroidering the plushie face
Use black aran yarn and a darning needle to embroider the lashes and mouth.
The mouth is 3sts wide and 1 row tall. The lashes are 1sts wide.
Insert hook through the back of the rocket and out next to the right eye. Then in 1st away and out back into the same place next to the eye.First lash done!
Insert needle in 1 row and 1st away from the eye and out 1 row below between the eyes where the right corner of the mouth will be. Second lash done!
To form the mouth, insert the needle 3sts away on the same row and out one row below, half way through the 2 points, catch the string and insert the needle back into that middle point and out on the side of the left eye. This will curve the mouth. Mouth done.
Repeat the lashes steps to create the lashes on the left side. Finish by exiting the yarn at the back of the rocket , on the same point where it entered.
Tie the 2 black ends in a single knot and push the ends inside the body.
To form the blush under the eyes, use pink yarn in a double strand.
Start from the back, pushing the needle out under the eye, on the same row as the mouth. The blush is 2sts wide. Make one under each eye. It will look like this.
Get the ad-free PDF
You can find the printable, ad-free version of this pattern in my Etsy and Ravelry shops.
If you would like to support my work and get access to exclusive content and discounts, consider joining me on Patreon where it is free to sign up.
COZY CRAFTER / PATREON
Join our Cozy Crafter tier on Patreon to save 50% and support my craft. Come join the family!
* TAX is added to the price based on your country of residence.
If you found this post helpful, please like and share. Follow me on Pinterest for more crochet inspiration. Follow us on Instagram, Tiktok and Facebook @TheYarnCrew.
Final Thoughts
Thank you for choosing this pattern for your next project. I hope you enjoy creating your own little rocket and seeing it come together.
Happy Crocheting!
Looking for similar patterns to crochet?
- How To Crochet A Cute Rocket Plushie (Free Pattern)
- 4 Farm Themed Crochet Mobile Patterns Great For Cribs
- 13 Quick & Easy Crochet Pickle Patterns For Emotional Support
- 8 Fun Amigurumi Balloon Animal Patterns
- 12 Free Crochet Amigurumi Sunflower Patterns For Mother’s Day
- 15 Free Amigurumi Crochet Tulip Patterns For A Unique Bouquet

Copyright
© 2026 The Yarn Crew. All rights reserved.
The photographs in this pattern are subject to copyright and are the property of The Yarn Crew. Don’t use them to advertise your own creations. You may use photos from this post only if you directly link back to this pattern.
