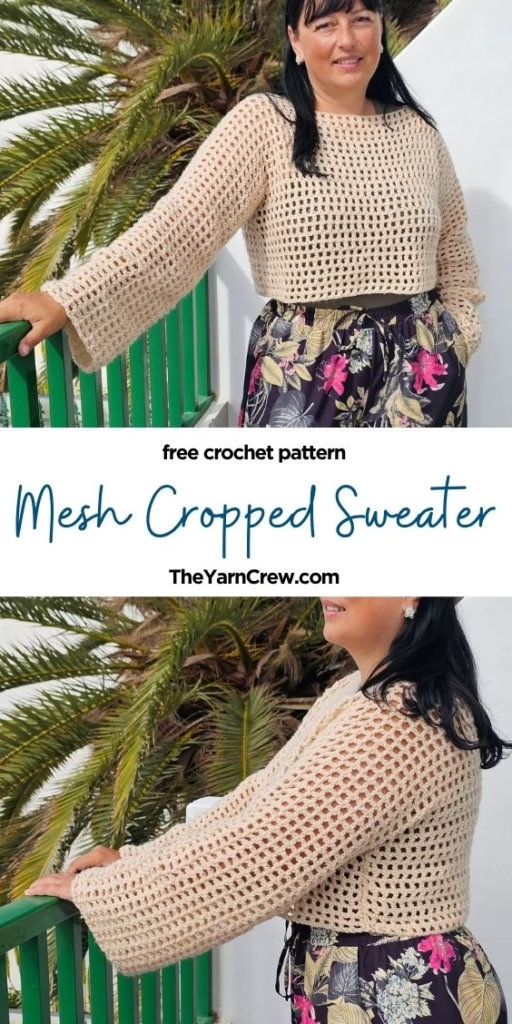
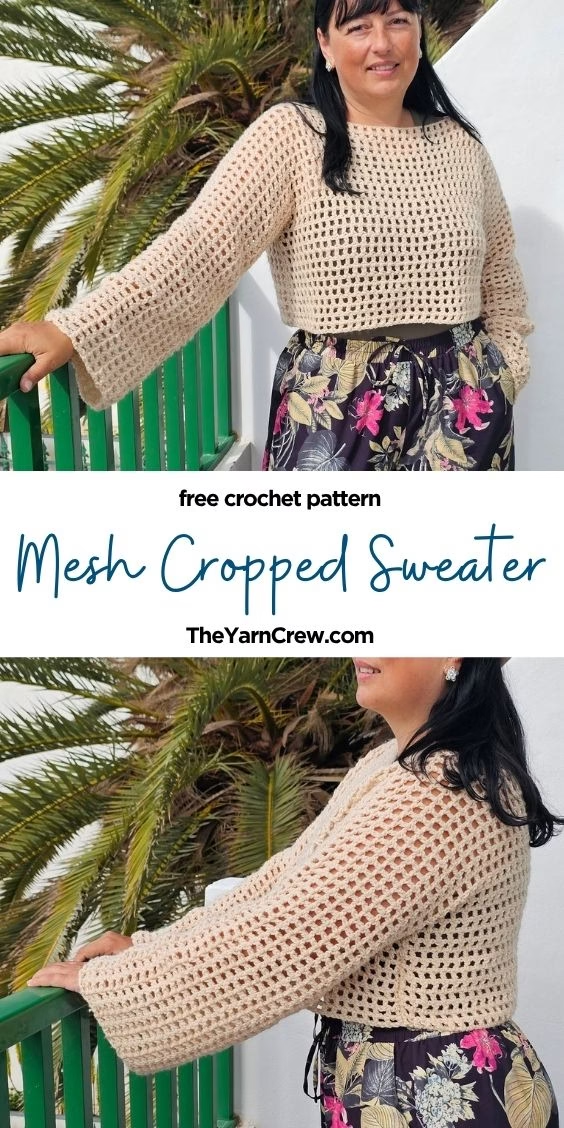
This basic coquette crochet pattern is one of my favorite designs because it is fast to make and looks great with almost any outfit.
*This post may contain affiliate links to support the cost of this blog. At no cost to you, I may make a small commission if you purchase through these links. Read our Privacy Policy HERE

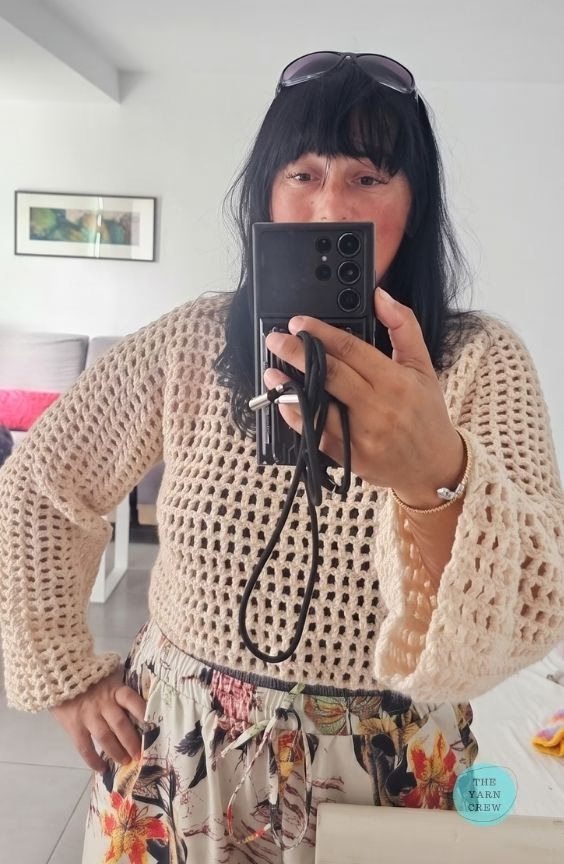
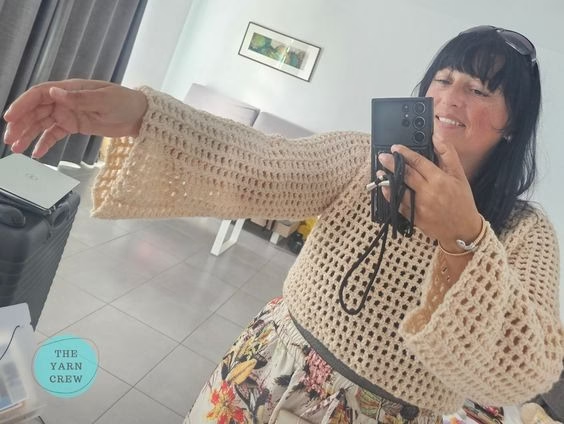
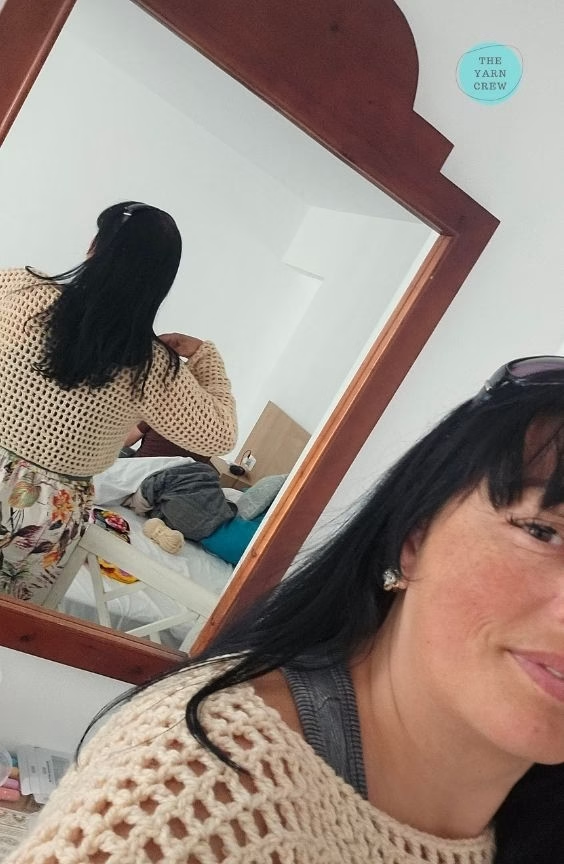
I originally made this mesh cropped sweater as a quick solution when I was traveling and forgot to pack something warm for the evenings.
It turned out so well that I knew I had to share it with you all.
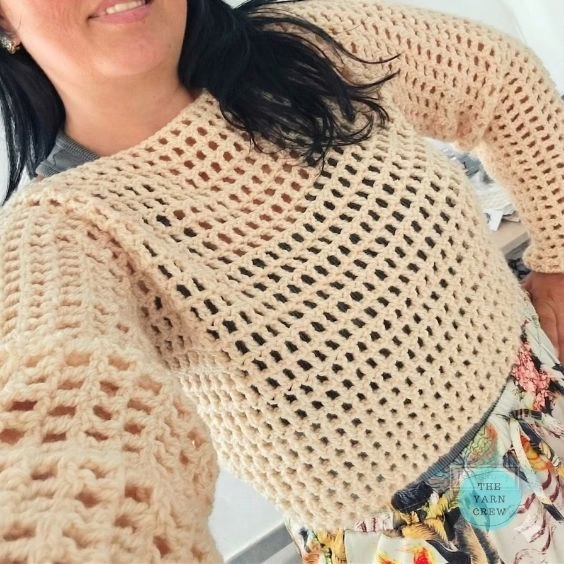
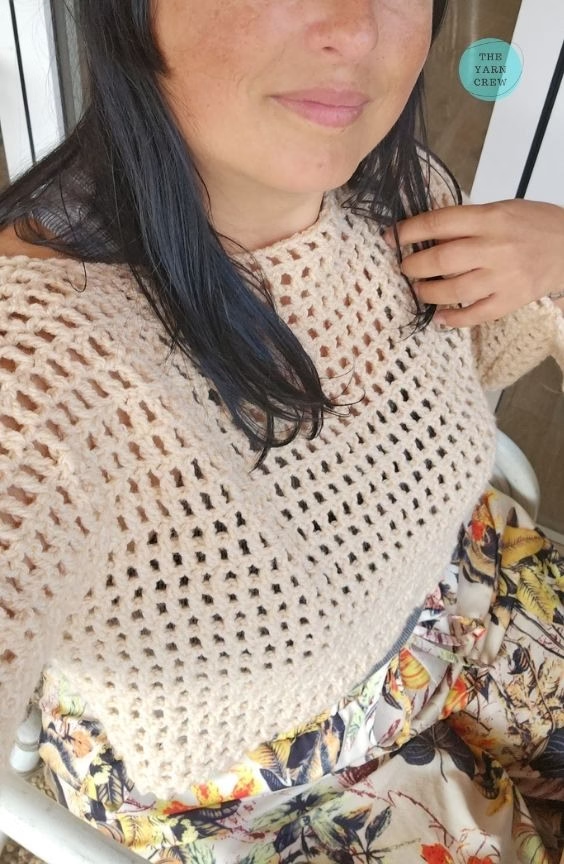
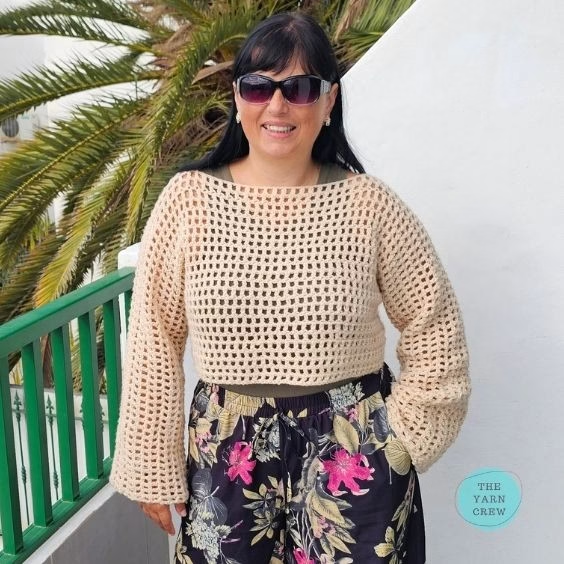
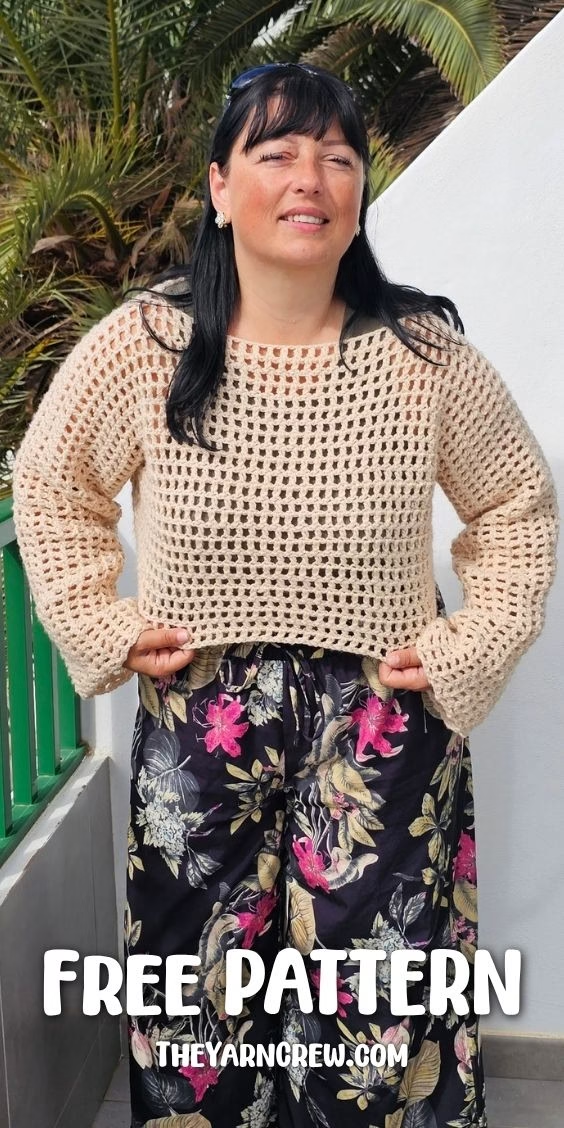
It’s made with the classic mesh stitch which works quick and creates a flexible and breathable texture.
Project Overview
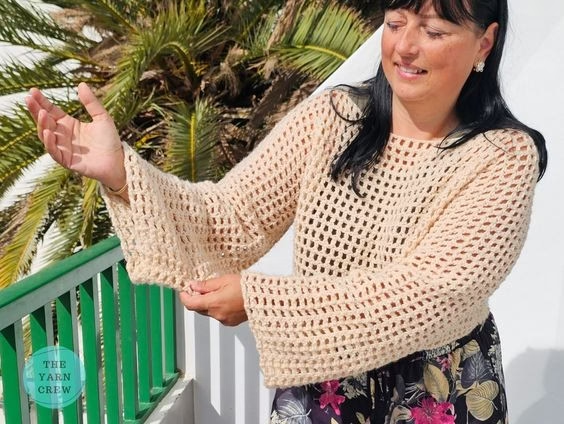
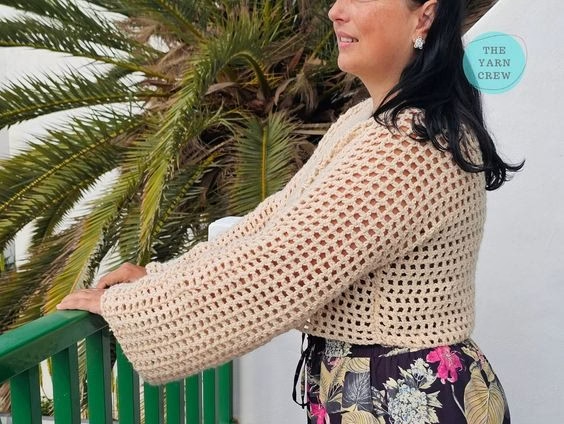
This mesh cropped sweater is a beginner-friendly garment that uses simple stitches to create an airy, open look. It is designed to be a “blanket canvas” piece, meaning you can wear it as a simple staple or add your own personal style to it later. It has a cropped fit that pairs perfectly with high-waisted jeans or skirts.
PATTERN TYPE: Lace
PATTERN LEVEL: BEGINNER
ABBREVIATIONS: Written in US terms using Craft Yarn Council abbreviations
SIZE:
- 146cm from sleeve end to sleeve end
- 45cm sleeve length
- 33cm neck opening
- 56cm torso opening
- 17cm tall from waist to under arm
- UK size 16
YARN INFORMATION: aran
YARN QUANTITY: Oat – 3 skeins of 100g
CROCHET HOOK: 5 mm
MATERIALS USED: stitch markers, scissors, pins, and tapestry needle
PDF: available on Etsy
If you found this post helpful, please like and share. Follow me on Pinterest for more crochet inspiration. Follow us on Instagram, Tiktok and Facebook @TheYarnCrew.
- Project Overview
- The story behind the design
- Top reasons to make this
- Is this the right pattern for you?
- Materials & recommended supplies
- Construction
- Gauge
- Abbreviations
- Special Stitches
- How to crochet a mesh cropped sweater?
- Get the PDF version
- Final thoughts
- Looking for similar patterns to [INSERT PATTERN HERE]?
- Copyright
The story behind the design
This pattern actually started as a total accident while I was away on holiday. I arrived at my destination and realized I completely forgot to pack a sweater for the chilly nights.
I didn’t want to spend my whole vacation working on a huge project, so I grabbed my hook and decided to make something fast, airy, and cute.
I needed a design that would not take up my entire trip. This mesh design was the perfect solution because it only takes two days to finish from start to finish.
It became my favorite travel essential because it is light enough to throw in a bag but stylish enough to be the main part of any outfit.
Top reasons to make this
- Finished in a Weekend: You can finish this in just two days, making it perfect for a last-minute gift.
- Beginner Friendly: If you know how to chain and double crochet, you can make this.
- Easy to Adjust: You can make the torso longer or the sleeves shorter very easily.
- Year-Round Wear: Layer it over a bikini in the summer or a tank top in the spring.
Is this the right pattern for you?
- The Trend-Setter: Perfect if you love the coquette aesthetic or Y2K fashion.
- The Impatient Maker: Great for anyone who hates projects that take months to finish.
- The Advanced Beginner: A perfect first garment since there is no complicated shaping.
- The Budget-Conscious: Because of the open mesh, it uses very little yarn.
Materials & recommended supplies
I used 3 skeins of 100g Aran weight yarn in an oat color and a 5mm crochet hook. You will also need a tapestry needle to weave in your ends and some scissors.
The aran weight gives the mesh a nice structure without making it feel too heavy or stiff.
Construction
This mesh top is crocheted in one piece, from bottom front to bottom back. The piece is then folded in half with the neck hole at the top.
The arms and sides are slip stitched to form the top.
Gauge
14 sts and 12 rows = 10cm (4″) in Classic Mesh Stitch using a 5mm hook and worsted yarn (aran, #4).
Abbreviations
Written in US terms using Craft Yarn Council abbreviations.
- yo- yarn over
- st(s) – stitch(es)
- ch(s) – chain(s)
- sk – skip
- dc – double crochet
- csdc – chainless double crochet
Special Stitches
Chainless Double Crochet (csdc) – Pull up the loop to be the length of 1dc and hold it on the hook with your finger.
Wrap the hook around the loop and insert it in the same stitch from where the loop was drawn.
Yarn over and pull through the first 2 loops on the hook, yo, and pull through the last 2 loops on the hook.
How to crochet a mesh cropped sweater?
Creating the width of the top. Make it as wide as you want by increasing the number of chains.
Ch 85
Row 1: dc in 7th ch from hook, *sk1, ch1, dc in next* , repeat from * until the end of the row, turn
Row 2: csdc, *sk1, ch1, dc in the dc below*, repeat from * until the end of the row, turn
Creating the height of the top, from the bottom of the mesh sweater to the armpit (where the sleeve starts). Make it as long as you want by making more or less rows.
Rows 3 – 12 (10): csdc, *sk1, ch1, dc in the dc below*, repeat from * until the end of the row, turn
Creating the arms. Make them as long or short as you want by increasing the number of chains.
To make the fist arm: ch70, fasten off.
To make the 2nd arm: join yarn on the other side of your work and ch74, continue from here with row 13.
Row 13: dc in 7th ch from hook, *sk1, ch1, dc*, repeat from * until the end of the row
Creating the sleeve width. Make yours as wide as you need by making more rows.
Rows 14 – 24 (11): csdc, *sk1, ch1, dc in the dc below* , repeat from * until the end of the row, turn
Creating the neck opening. Make it as wide as you want by skipping more stitches and making the same number of chains as the number of stitches you skipped.
Row 25: csdc, *sk1, ch1, dc in the dc below* × 44, skip 53 stitches (the count includes the ch1 and the dc stitches), ch53, dc in next dc below *sk1, ch1, dc in the dc below*, repeat from * until the end of the row, turn
Creating the back of the sweater, which is a mirror of the front. Whatever changes you made to the pattern on the front (row number, sleeve length, etc.), make it on the back too.
Rows 26 – 36 (11): csdc, *sk1, ch1, dc in the dc below* , repeat from * until the end of the row, turn
Now that the sleeves are finished, fasten off, and we will join again further in the row to create the back part of the sweater.
From the edge, count 35dc in and join your yarn into that 35th stitch.
Row 36: csdc, *sk1, ch1, dc in the dc below* x 40, turn
Rows 37 – 48 (11): csdc, *sk1, ch1, dc in the dc below* , repeat from * until the end of the row, turn
Don’t fasten off as we will continue from there to assemble the cropped sweater.
The Assembly
Fold the sweater in half with the neck opening at the top and the wrong side out.
Use the working yarn to sl st through both layers to connect the sides. Do the same on the other side. Weave in the ends.
Get the PDF version
If you prefer to work from a printed copy, the PDF pattern is available in my shops. You can find it on Etsy and Ravelry. If you are a member of my Patreon, you can get this pattern at a discount as part of your membership benefits.
COZY CRAFTER / PATREON
Join our Cozy Crafter tier on Patreon to save 50% and support my craft. Come join the family!
* TAX is added to the price based on your country of residence.
If you found this post helpful, please like and share. Follow me on Pinterest for more crochet inspiration. Follow us on Instagram, Tiktok and Facebook @TheYarnCrew.
Final thoughts
Thank you for choosing my pattern for your next project. I hope you enjoy wearing your new sweater as much as I enjoyed designing it. Happy Crocheting!
Looking for similar patterns to [INSERT PATTERN HERE]?
- 15 Hello Kitty Crochet Dolls Free Patterns
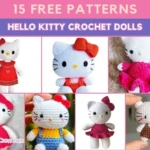
- Quick Basic Coquette Mesh Cropped Sweater

- 15 Free Father’s Day Crochet Project Patterns

- 15 Free Crochet Toddler Bucket Hat Patterns

- 14 Adorable Free Crochet Cat Granny Square Patterns

- 10 Cute Free Crochet Mouse Cat Toy Patterns

Copyright
© 2026 The Yarn Crew. All rights reserved.
The photographs in this pattern are subject to copyright and are the property of The Yarn Crew. Don’t use them to advertise your own creations. You may use photos from this post only if you directly link back to this pattern.
